Thursday, June 26, 2014

Will Be Making Awnings For Sale Soon

Inventory is underway. Pictured are some roll ends, of marine grade awning fabric, with only enough material left for just small awnings. This is the time of year, when I clear out the old awning fabric to make room for the new. One by one, I will turn each fabric remnant into a little awning. I will also be using up my leftover fringe and edge binding. I know some of you look forward to this annual event, so I am posting in advance. Have a sneak peek at the upcoming patterns, in anticipation of the Vintage Trailer Awnings by Kristi that will be for sale. I will update patterns as inventory continues.     dfoster@bellsouth.net 

7' rail length x 8' awning with pockets for shock poles if you choose to buy some. Listed on eBay 10-13-14.
sold

sold

sold


http://www.facebook.com/vintagetrailerawnings

SOLD
7 1/2' rail x 8' awning. Edgewood Skipper. Sunbrella Navy Braid Trim on scalloped valances. Two brass grommets. Fabric covered pull cord. $225.00 including shipping and insurance in a USPS medium flat rate priority mail box in the USA. Contact      dfoster@bellsouth.net     


6' 2" x 6' 2" awning out of this pattern with custom matching edge binding and coordinating 2" fringe, fabric covered pull cord, 8" scalloped valances on three sides, elastic strap shock pole guide and pockets in all four corners for shock poles will be for sale on eBay soon seller dlf1954 SOLD

6' x 6' arched up awning on sale eBay seller dlf1954 SOLD
Sunbrella braid trim edge binding on the scalloped valances.
Vinyl welt slides into a 3/8" diameter c-channel awning rail.
Pockets formed in all four corners for shock poles.
eBay seller dlf1954
SOLD

Vintage Trailer Awnings by Kristi
SOLD

Shock poles included
eBay seller dlf1954
Vintage Trailer Awnings by Kristi Image


SOLD

Sattler 320-333 will be 7 1/2' rail x 8' SOLD
6' x 6' awning is for sale on eBay 9-11-14
Vintage Trailer Awnings by Kristi
eBay seller dlf1954
                                                   SOLD
Shock poles seat down into the pockets formed in the corners of this awning.

Once the shock poles are crossed in the middle, it creates lift for extra height underneath the vintage trailer awning and for rain run off.
                                                              
This vintage trailer awning has a vinyl welt on the trailer edge and Sunbrella braid trim on the scalloped valances.
For sale on eBay seller  dlf54
SOLD

Trying out the poles for size. The awning still needed an elastic strap, edge binding and fringe in this picture.
Sattler 320-959 will be 6 1/2' x 6 1/2'
 
6 1/2' x 6 1/2' awning, with pockets for shock poles
eBay listing on 9-12-14
eBay seller dlf1954
 

The reinforced pockets are formed in the facings on the underside for the shock poles.
For sale on eBay seller dlf1954

The shock poles seat down into the reinforced pockets formed in the corners of this awning.
For sale on eBay seller dlf1954

Approximately 7 1/2' x 7 1/2'
On eBay 10-22-14
SOLD

10' x 8' and Rock Guard Awning SOLD

SOLD

Will be making a 7' rail length x 8' awning, with Sunbrella braid trim on the scalloped valance, 2 grommets in the reinforced mitered corners of the facings.

SOLD 9' x 8' awning

Will be 6' x 6'
SOLD

Monday, June 9, 2014

Images of Vintage Trailer Awnings With Shock Poles for Lift

Over the years, I have made quite a few small arched vintage trailer awnings, designed to provide lift from underneath. Shock poles are inserted into the four pockets on the underside of the vintage trailer awning, arching the awning upward for extra height underneath and incline for rain run off. Some of these pictures are quite old, while others I have made more recently. 


Image of a shock pole inserted into a corner pocket on the underside of an arched vintage trailer awning dfoster@bellsouth.net

Image of an arched vintage trailer awning from a side view dfoster@bellsouth.net

Without the fiberglass shock poles, an arched awning can be used as a traditional flat vintage trailer awning dfoster@bellsouth.net

A tie strap and a Velcro strap secure where the shock poles cross on the underside of an arched vintage trailer awning dfoster@bellsouth.net


Image Vintage Trailer Awnings by Kristi
 dfoster@bellsouth.net
Lil Loafer with a Vintage Trailer Awning by Kristi Image
Here is a new one for 2014 being fitted for shock poles
Vintage Trailer Awnings by Kristi Image

Vintage Trailer Awnings by Kristi Image of a shock pole awning

Vintage Trailer Awnings by Kristi Image of a shock pole awning

Vintage trailer awnings by Kristi Image of a shock pole awning


This Vintage Trailer Awning by Kristi still needs edge binding, fringe, and the elastic strap, in this picture.

r-pod with a shock pole awning image
Vintage Trailer Awning by Kristi


Image Arched Awning by Kristi Foster
Vintage Trailer Awnings by Kristi

Image Vintage Trailer Awnings by Kristi
Tag-A-Long Trailer

Image Vintage trailer awnings by Kristi

Image Vintage trailer awnings by Kristi

Image Vintage trailer Awnings by Kristi


Image Vintage Trailer Awnings by Kristi

Image Vintage Trailer Awnings by Kristi

Sunday, June 8, 2014

Cleaning Dirt and Stains From Sunbrella Awning Fabric

 Several years ago, I made a Sunbrella  cage cover for my cat. I also made a matching Sunbrella cushion for the top of the cage. It stays outside year round, inside of a large dog kennel on our porch. Over the years, it had become embedded with dirt, debris, and had several black stains, which probably were mildew. Mildew will grow on the soil in the fabric, exposed to moist conditions. So under the cushion is where it was the worst. I decided it was time to clean it up, so I documented what I tried with pictures. Don't be afraid to clean your Sunbrella awning, because the  acrylic fabric comes out looking new again. Follow the formula on the Sunbrella website for great results.

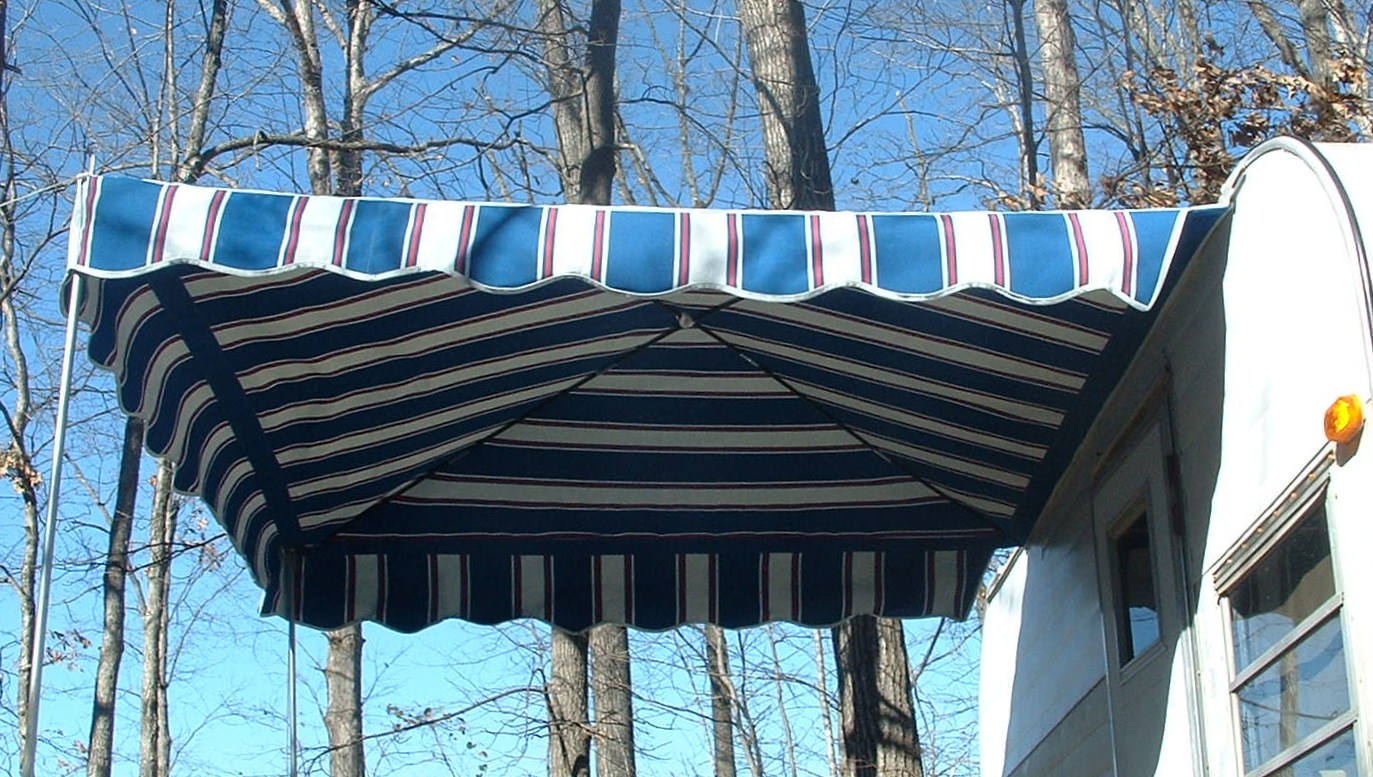
Sunbrella Cat Cage Cover when it was new.

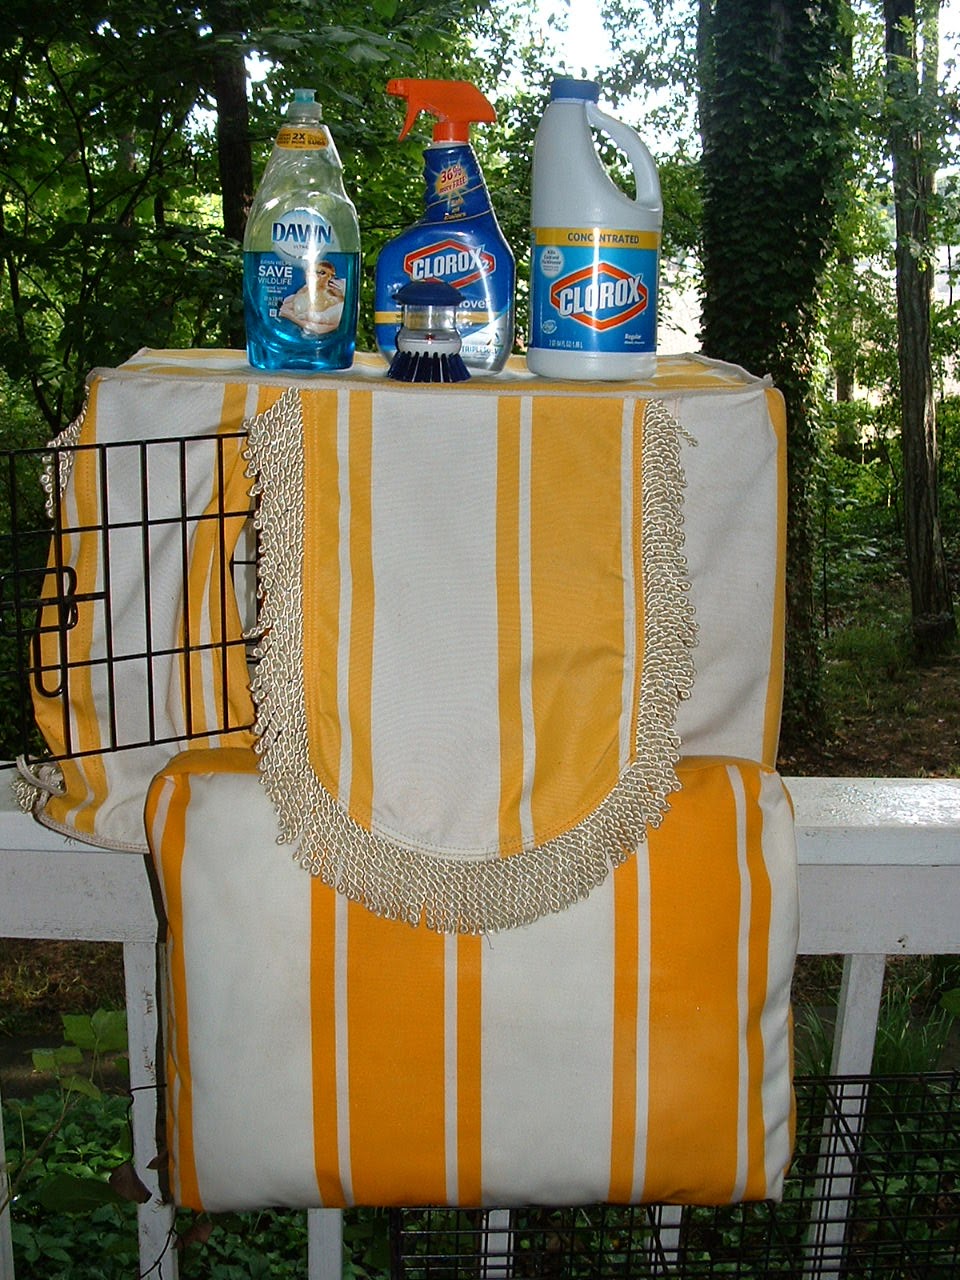
Matching Sunbrella Cushion, for the top of the cage, when it was new.

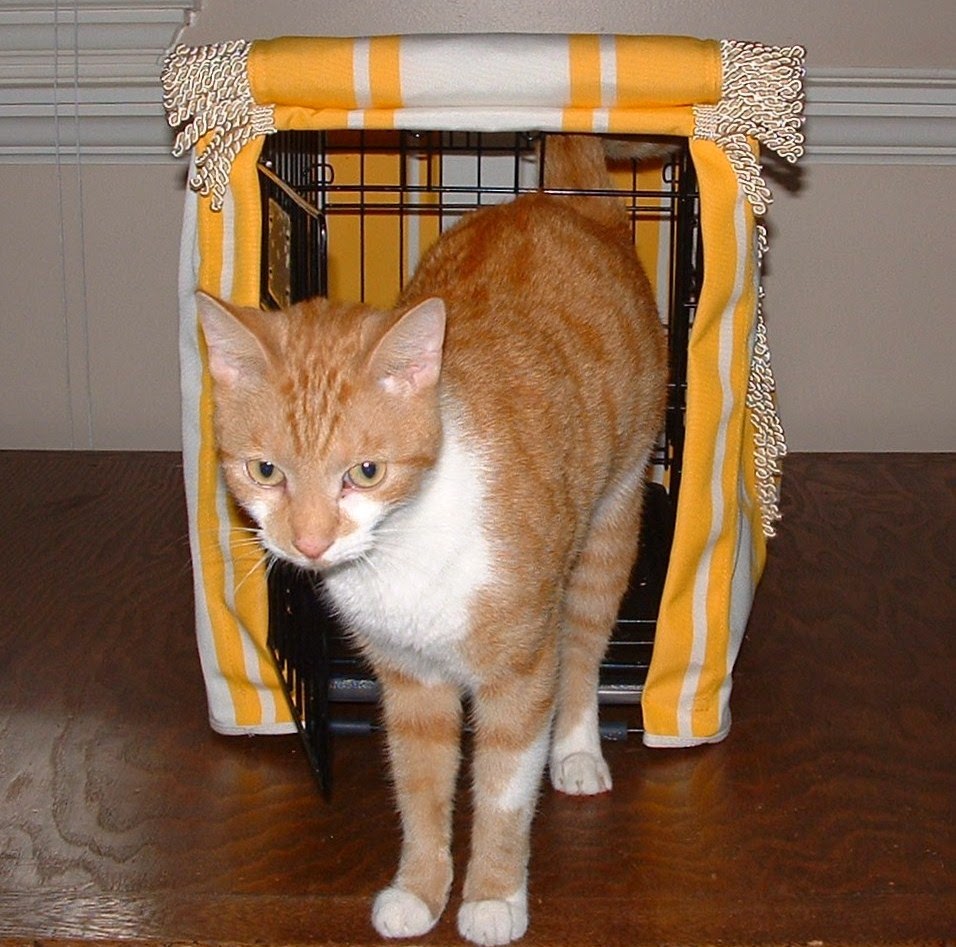
My indoor rescue kitty named Sam.

Sam modeling with his new cage cover.
After using a mild dish liquid and water mixture, you can still see more dirt in the fabric of the cushion.

The stain on the top of the cage cover was solid black, but has lightened some from the liquid dish detergent plus using Clorox Laundry Stain Remover

The door flap also had a large black stain, where it was tucked under the cushion. It also lightened some from the first treatment.
Once I followed Sunbrella's instructions from their website, using  regular Clorox bleach diluted in water, I really started to see results quickly.

After just a few minutes, with light scrubbing with a soft scrub brush, the dark stains were gone!

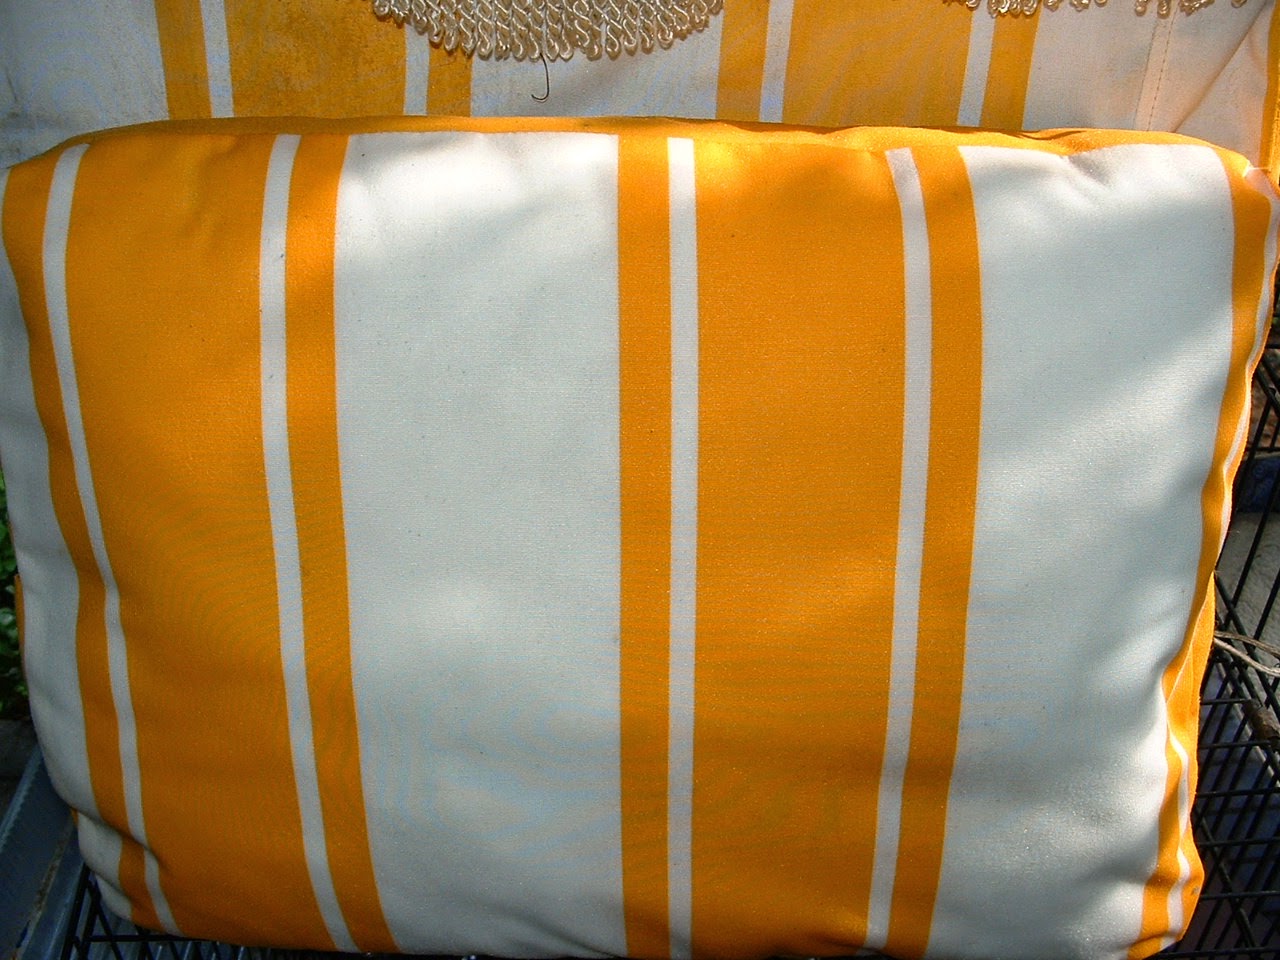
The cushion looks new again.

If you look closely, you can see the little covered cat cage inside the big dog kennel.
Yes, he always goes camping with us.


Animal lovers: Sam's version of going outside, is to go onto the porch into the dog kennel. He loves to watch the birds, squirrels, chipmunks, and occasionally other cats that come into the yard. We have a bird bath, and a bird feeder, next to the porch, which keeps him entertained. We also have a family of house wrens that made a nest with 5 babies in a basket on the porch. Most of the day, he has the run of our big house. He is loved and spoiled and even goes camping with us. Just wanted to make sure no one thought he was kept in a cage all day!

Instructions For Setting Up A Rope and Pole Trailer Awning With A Fabric Covered Pull Cord

 If you have never set up a rope and pole vintage trailer awning before, or need a refresher course on putting up a vintage trailer awning, this is a must read. Copy Paste Print

1)One person climbs the ladder with the folded awning weight supported on their shoulder.
2) Another helper on the ground to pull the cord.
3)The fabric covered part of the cord is what feeds into the rail. It needs to be a tight fit or the first wind or rain will pull it out through the slit.
4)The pull cord with the tassel dangles forward through the slit in the rail. You may need to twist the cord tightly to narrow it, so it will fit through the slit in the rail.
5)You may need to very slightly widen the circular opening to the awning rail, to get the fabric covered cord started. The fabric is folded over for about an inch, making it a tiny bit thicker.Once you get it started, it should pull easily. So it is just the fabric covered cord that you feed into the channel, with the rest of the cord dangling forward through the slit. Slide it along as far as you can before the other person pulls the cord.
6) I should have said to clean out the awning rail before starting, and you can also spray Blaster Dry Lubricant into the channel if necessary. Dirt, and debris, can keep the awning from sliding along the awning rail. We had nuts, from squirrels, clog ours up last year! A test tube brush works great.
7)The person on the ladder lifts the weight and guides the fabric into the channel, while the other person pulls the cord. Unfold-pull-unfold pull-about a foot at a time, lifting and guiding. You get the hang of it and it actually goes up quickly.
8)Have the adjustable height tent poles extended and set out on the ground approximately where the grommets will be. Have a tent stake and tie down line already there with a hammer.
9)I would add springs to the tie down line for extra tension and easier set up.
10)The whole set up should take less than 10 minutes.
11)Have the tie down lines angle off the corners, not straight forward or out to the side. That will give better lift underneath.
12) To slide it back out of the rail, you generally don't need a helper or even a ladder. However, I have found that if I do climb the ladder, I can fold it as I am taking it off the rail. But if it is wet and you need to pack up quickly, just slide it off and clean and dry it when you get home. We hang ours off of our back porch railing, when we get caught in a rain storm on check out day!
Copy-Paste-Print and keep with the awning in a clear plastic bag. You can refer to it at set up time.
If you have more questions, just email me for more instructions. Kristi   dfoster@bellsouth.net 

Attach a line to the pull cord and use a pulley system to set up an awning when camping alone.
https://vintageawnings.blogspot.com/2012/09/how-to-set-up-vintage-trailer-awning.html

https://facebook.com/vintagetrailerawnings


Saturday, June 7, 2014

Preparing To Make A Vintage Trailer Awning

Vintage Trailer Awnings by Kristi have custom made, matching, edge binding, on the scalloped valances. This edge binding is made in advance, as well as the facings that surround the underside of the awning. The scalloped valances, that are on three sides of the vintage trailer awning, are also prepared ahead. All of these pieces have finished edges, which is a time consuming process. The scalloped design is figured out in advance too, planning the scallops to follow the striped pattern in the fabric. So, there is a lot of preparation that goes into making a Vintage Trailer Awning by Kristi. The details make the difference.
dfoster@bellsouth.net