1) A commercial sewing machine, or a cast iron vintage sewing machine, supported inside of a sewing cabinet.
2)A cast iron spool stand for a 16 ounce spool of strong, UV, weather and chemical resistant thread.
 |
| Cast iron spool stand and raw edge binder sewing machine foot |
3) A raw edge binder sewing foot.

 |
| Finish the raw edges of the facings and edge binding, using the edge binder foot. |
4) A sewing machine walking foot.
 |
| Walking foot that evenly pulls both layers of fabric, when sewing large panels of awning fabric together. |
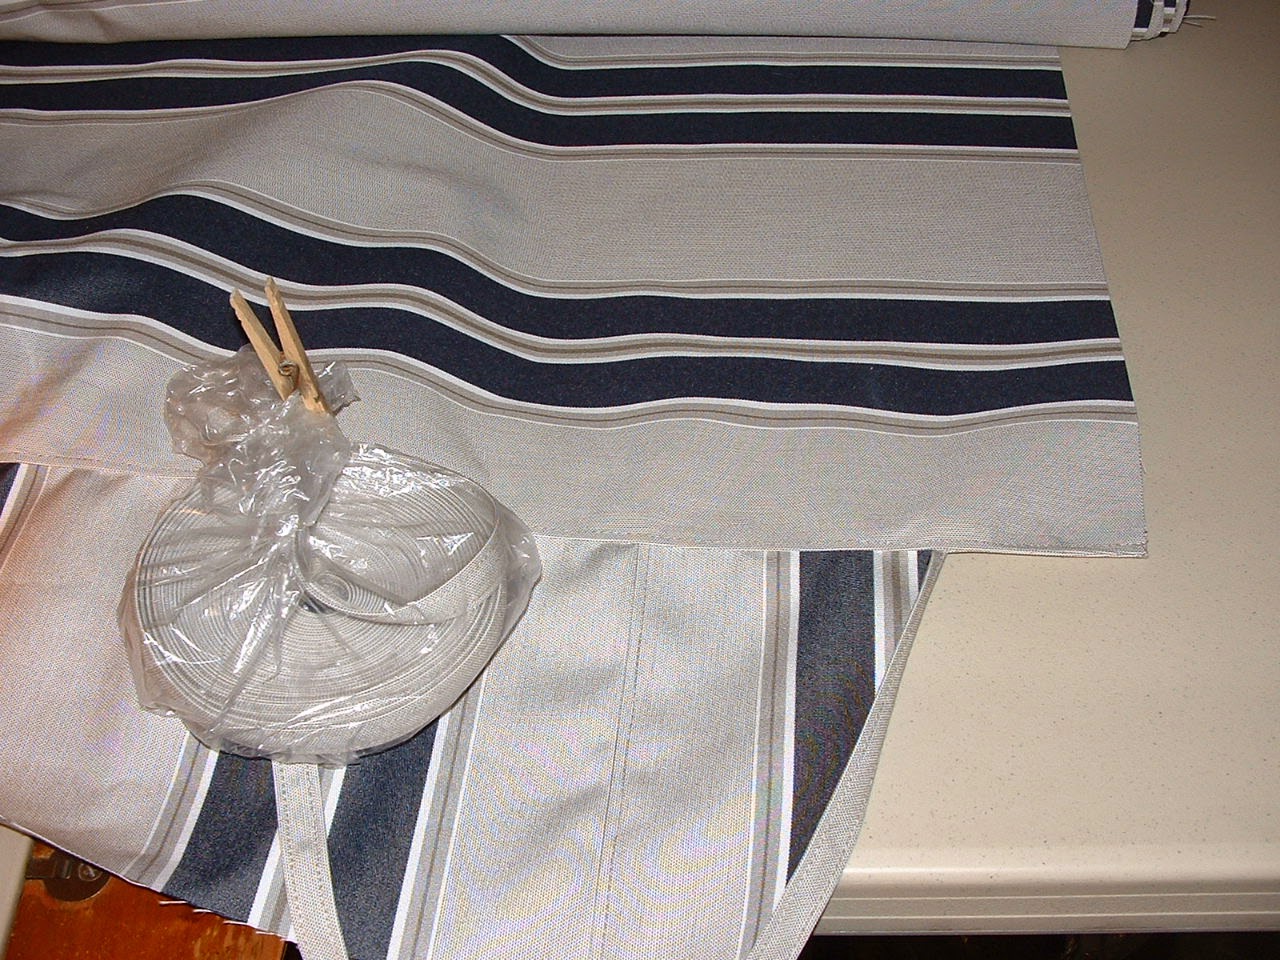
5)A spool of vinyl welt.
 |
| Vinyl welt, and edge binding showing raw edges before using the binder foot. |
6)Grommets, seam ripper, scissors, pencil, hammer, and grommet tool.
 |
| Supplies for installing brass grommets |
 |
| 16' x 8' awning |
8) Several large tables set up end to end, for measuring and cutting the awning fabric.
9)A sewing space that is approximately 24' long. You will need at leat 8' of table space in front of, and in back of, your sewing machine cabinet.

Are you still considering making your own rope and pole awning? Shall I even continue?
10)For a 16' x 8' awning, more than 17 yards of Sunbrella 45" wide fabric is needed. This does not include the extra yardage necessary to make custom matching edge binding and facings for the underside.
Once you have assembled all of your sewing supplies, have prepared your work stations for measuring and sewing, then it is time to begin. You still with me?
1) Sew your main panels together and then top stitch. If your fabric has not been heat sealed along the raw edges, then use flat felled seams.
2)Sew the valance sections together.
3)Sew one side valance to the side edge of the awning.
4)Attach the edge binding, for the scalloped valances, under the facing.
5)Sew through the three layers.
 |
| Layer awning, valance, edge binding and facing, then sew through all layers. |
 |
Open out facing and stitch close to the valance. |
 |
| Open out the valance and topstitch through all layers. |
 |
| Draw out the scalloped valance design with chalk. |
 |
| Cut out the scalloped valance. Save the edge for a pattern for the other sides. |
 |
| Sew the custom made matching edge binding over the scalloped edge. |
Repeat these steps for the other side valance, on the opposite edge of the awning.
Now, with the awning folded to access the 16' front valance and trailer edge, we continue on.
Trace the valance pattern onto the front valance and cut out the scallops.
Continue sewing the edge binding over the front scalloped valance's raw edges.
Measure up 8" from the edge with a ruler, then chalk a 16' line, as a guide for sewing on the front facing.
 |
| Make a chalk line 8" from the bottom of the valance. |
 |
| Sew the facing in place ,using the chalk line as a guide. |
Now, on the trailer edge, either cover the raw edge with edge binding, or fold it over and sew.
Next, sew the vinyl welt onto the prepared trailer edge.

 |
| Measure out the placement for the four grommets. Mark the spots, cut out the openings, insert the grommet, place in the base of grommet maker, set the grommet ring, insert the other half of the grommet maker and hammer to form the finished grommet. |
 |
| Hammer the grommet maker to form the grommet into the awning. |
 |
| Use a lint roller to remove any loose threads, while folding the awning. Spray Blaster Dry Lubricant on the welt for an easy glide through the c-channel. |
 |
| Fold the awning the rest of the way, in preparation for shipping or storage. |
 |
| Boxed and ready to mail. |
Of course there are much easier ways to make a vintage trailer awning. This demonstrates the quality differences in a Vintage Trailer Awning by Kristi.