Friday, June 26, 2015

Sliding The Awning Welt Into The C-Channel Awning Rail

During this video, I demonstrate sliding the welt on a 7' x 7' vintage trailer awning into the c-channel awning rail on a vintage trailer.

Watch the second video, as I demonstrate removing the Vintage Trailer Awning by Kristi from the c-channel awning rail.

Even with a sprained ankle, it only takes a few minutes to set a rope and pole awning up, and even less to take it back down! 

dfoster@bellsouth.net
http://www.Facebook.com/vintagetrailerawnings.com


dfoster@bellsouth.net
http://www.facebook.com/vintagetrailerawnings

Thursday, June 25, 2015

No Business Phone Number

You may have noticed that there is no phone number listed for Vintage Trailer Awnings by Kristi. DLF1954, LLC is an online business only.
                                  dfoster@bellsouth.net

Do you have a personal computer, Lap Top Computer, I Pad, or Smart Phone? Do you know how to email? Good, because this is a picture of my business phone. It is unplugged, covered in dust, and has the old Bellsouth Logo on it!

I will be happy to answer all of your vintage trailer awning questions online at  dfoster@bellsouth.net.


My business workshop is located in my basement, under my back porch, on a dead end street, in a quiet neighborhood. No business traffic is allowed.


However, we occasionally do get visitors from the woods.

Feel free to contact me anytime. I answer questions day or night, seven days a week.  dfoster@bellsouth.net     

Thanks, Kristi

http://www.facebook.com/vintagetrailerawnings

A Few Simple Steps To Order An Awning

It is easy to order an awning, from Vintage Trailer Awnings by Kristi. There are only a few simple steps to follow.

Step number one:
Measuring tapes to measure the awning rail on your vintage trailer.
Measure the most level section of your awning rail with a measuring tape. Do not include where the awning rail might curve downward on the ends.

The ruler shows a 3/8" diameter, as the measurement to the circular opening on the end of a c-channel awning rail.
Step number two:
Measure the diameter of the circular opening on the end of your c-channel awning rail with a ruler. Make sure it has a 3/8" diameter.

Image of a c-channel awning rail
Step number three:
Contact me at  dfoster@bellsouth.net for an estimate.
 
I will be happy to answer all of your questions online.
I will also email pictures of marine grade awning fabric patterns, that are available for the size of awning that you need.

 One, Two, Three, Easy As  Can Be!
dfoster@bellsouth.net
http://www.facebook.com/vintagetrailerawnings
http://www.facebook.com/vintageawning   


Saturday, June 6, 2015

When Life Hands You Lemons Make Lemonade!

Recently a Rock Guard Awning and a matching Vintage Trailer Awning by Kristi were damaged during shipping. I can only assume that the USPS box somehow got wet during transit,  causing the writing on the inside of the box to bleed onto the fabric inside. Since the Rock Guard awning was wrapped around the camper awning in the package, most of the blue discoloration transferred onto the Rock Guard Awning.


Instead of filing an insurance claim, I decided to follow the Sunbrella Stain Removal Guide on their website.

Although upsetting, I thought I could use this experience for a positive outcome. Turn Lemons into Lemonade!


So, I used every suggested solution, rinsing in between each application, eventually fading the discoloration out of the Sunbrella Manhattan Fog fabric.


Once I started to see results on the Rock Guard Awning, I felt confident to proceed to the smaller, lighter, blue, stains on the main awning.
 
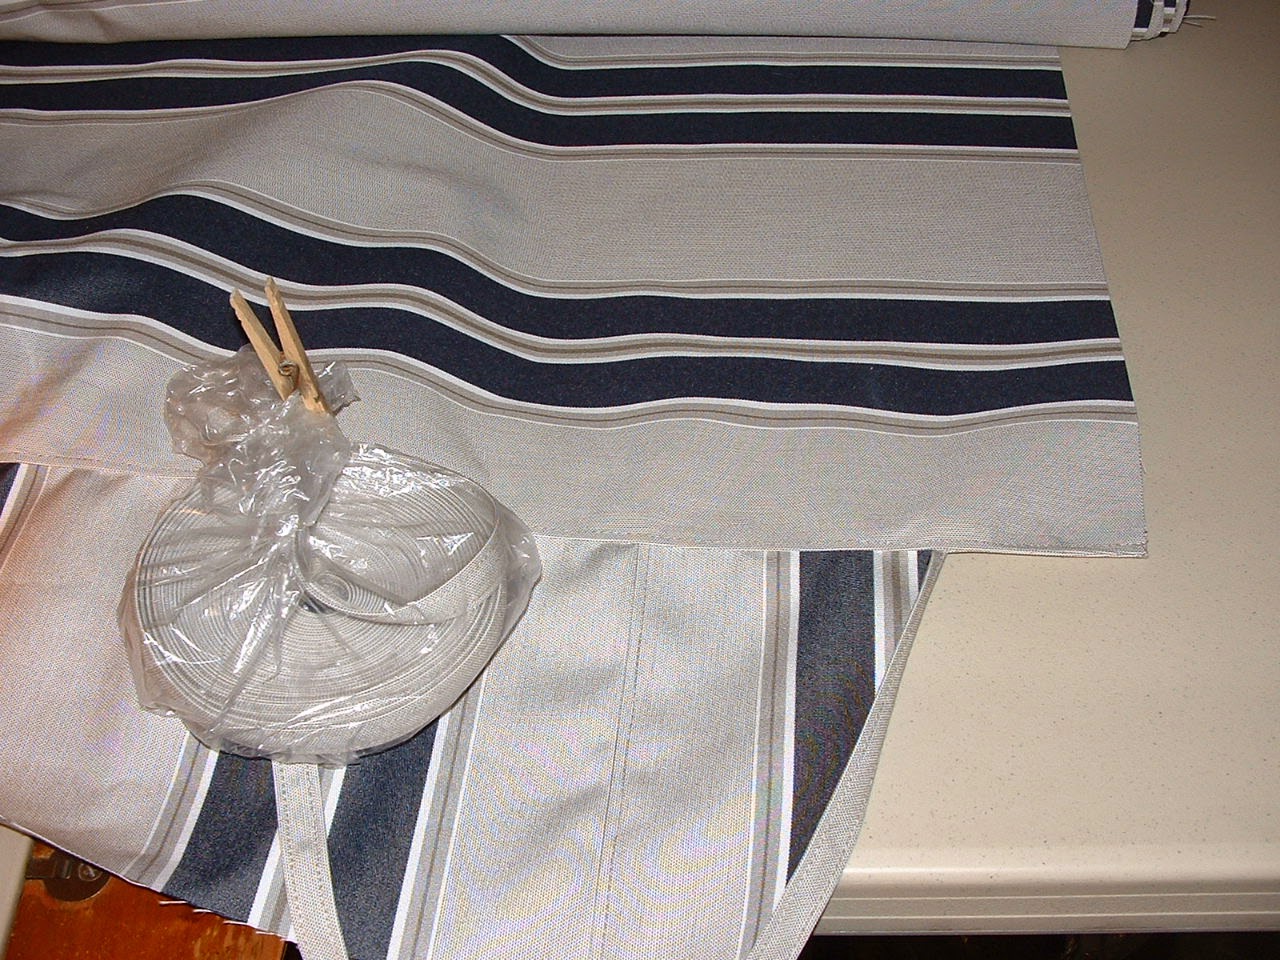
The Rock Guard Awning can be easily altered into a front window awning for my Tag-A-Long. So my next step is to remove the present attachments, add a vinyl welt to the top edge and a rod pocket to the underside.
Lemons to Lemonade


I hope this information will come in handy, if and when something awful stains your Sunbrella awning.
There are suggested solutions to remove wine stains, berry stains, ink stains, candle wax and many others.
So don't panic, just get busy right away to remove  it.
You might want to copy- paste- print the Sunbrella Stain Removal Guide to keep with your awning.


Friday, April 17, 2015

Now Is The Time To Order

Quit procrastinating . Now is the time to order that vintage trailer awning, that you have been longing for. Get your camper awning orders in, while there is a good selection of classic, vertical striped, patterns to select from. Order now, while there is still adequate yardage for those bigger vintage trailer awnings.


Contact:    dfoster@bellsouth.net
http://www.facebook.com/vintagetrailerawnings

Monday, April 13, 2015

Vintage Trailer Names Game

---  ANF
------ AMRLRBE
--- - ----  GAT A GOLN
-----NIOVA
------ ------ VISLER KEATSR
--------- SEMARITRA
------- ----- PRATNAS NOMAR
----- AHSATA
---- ELBL
------SNOHAN
----- --- ------IEDLF DNA MAETSR
----------- LESTNEOYEOLW
------ GOAYRS
----- PCSAM
----- ------ RROSE TYTOCS
--------- XELRTOUER
----- LERBO
--- ------ ILL FREOAL
-------- PEATROD
------ LFOACN
------ PZERIP
------- YAHILOD
----- ---- LESBO REAO
--------- BINNEWGAO
-------- GAVADNOB
----------- TPSATTEERNA
----- ORUBR
--------SACONTMS
----- PETEE
------ TASICA
---------- ERVUTNOLE
--- ---LED YRA
------- YCMRUER
------ NYALTO
---------- RSTAOTISCR
--------- AFTCRAOARD
-----DONAM
------ ------TTLILE PPDIER
-------- MTLIURL
------YSKOEM
--------LICANRD
-------- EEVTCRTO
-------EBLENIE
---- --- VLEO UGB
------ CLFORI
----- WRROA
-----CMEOT
-------- REFBLALEI
--------RTWODTO
--- CEA
---TEJ
---- ------ OADR UERNRN
------- WOBINRA
--- ---- DER LEDA
----- YLLHO
------ PROMYLA
---&---- DRO EERL
------- DRCOONC
------ AAHSAR


Stolen Cardinal
Call Teresa at 805-481-5093 If You See It!

 See if you can unscramble the different vintage trailer names.
I will keep adding more, so check back. This might be a fun challenge at a vintage trailer rally.
http://www.Facebook.com/vintagetrailerawnings
dfoster@bellsouth.net

Friday, April 10, 2015

How To Make A 16' Vintage Trailer Awning

Organize the necessary supplies for making an awning:
1) A commercial sewing machine, or a cast iron vintage sewing machine, supported inside of a sewing cabinet.
2)A cast iron spool stand for a 16 ounce spool of strong, UV, weather and chemical resistant thread.
Cast iron spool stand and raw edge binder sewing machine foot

3) A raw edge binder sewing foot.

Finish the raw edges of the facings and edge binding, using the edge binder foot.


4) A sewing machine walking foot.
Walking foot that evenly pulls both layers of fabric, when sewing large panels of awning fabric together.

5)A spool of vinyl welt.
Vinyl welt,  and edge binding showing raw edges before using the binder foot.

6)Grommets, seam ripper, scissors, pencil, hammer, and grommet tool.
Supplies for installing brass grommets
7)Measuring tape, ruler, chalk, sharp scissors, marine grade awning fabric, and strong, weather resistant thread. 
16' x 8' awning


8) Several large tables set up end to end, for measuring and cutting the awning fabric. 
9)A sewing space that is approximately 24' long. You will need at leat 8' of table space in front of, and in back of, your sewing machine cabinet.


Are you still considering making your own rope and pole awning? Shall I even continue?


10)For a 16' x 8' awning, more than 17 yards of Sunbrella 45" wide fabric is needed. This does not include the extra yardage  necessary to make custom matching edge binding and facings for the underside.

Once you have assembled all of your sewing supplies, have prepared your work stations for measuring and sewing, then it is time to begin. You still with me?


1) Sew your main panels together and then top stitch. If your fabric has not been heat sealed along the raw edges, then use flat felled seams.
2)Sew the valance sections together.
3)Sew one side valance to the side edge of the awning.
4)Attach the edge binding, for the scalloped valances, under the facing.
5)Sew through the three layers.


Layer awning, valance, edge binding and facing, then sew through all layers.

Open out facing and stitch close to the valance.
Open out the valance and topstitch through all layers.
Draw out the scalloped valance design with chalk.

Cut out the scalloped valance. Save the edge for a pattern for the other sides.

Sew the custom made matching edge binding over the scalloped edge.
 
Repeat these steps for the other side valance, on the opposite edge of the awning.
 
Now, with the awning folded to access the 16' front valance and trailer edge, we continue on.
Trace the valance pattern onto the front valance and cut out the scallops.
Continue sewing the edge binding over the front scalloped valance's raw edges.
Measure up 8" from the edge with a ruler, then chalk a 16' line, as a guide for sewing on the front facing.
 
Make a chalk line 8" from the bottom of the valance.

Sew the facing in place ,using the chalk line as a guide.
 
Now, on the trailer edge, either cover the raw edge with edge binding, or fold it over and sew.
Next, sew the vinyl welt onto the prepared trailer edge.


Measure out the placement for the four grommets.
Mark the spots, cut out the openings, insert the grommet, place in  the base of grommet maker, set the grommet ring, insert the other half of the grommet maker and hammer to form the finished grommet.
Hammer the  grommet maker to form the grommet into the awning.

Use a lint roller to remove any loose threads, while folding the awning. Spray Blaster Dry Lubricant on the welt for an easy glide through the c-channel.
Fold the awning the rest of the way, in preparation for shipping or storage.
Boxed and ready to mail.

Of course there are much easier ways to make a vintage trailer awning. This demonstrates the quality differences in a Vintage Trailer Awning by Kristi.